Panna cotta is an easy-to-make dessert that can be done through a endless list of flavor combination, finished with fantastic presentation and most importantly, brings out extraordinary taste. The basic ingredients usually include milk, whipping cream and gelatin; all of which create its typical flavour profile of being smooth, creamy, and luxurious with that melt-in-your-mouth texture. Panna cotta is so versatile that it is easily done and can be presented in so many different ways, making it a fantastic option for a lot of people who want to impress their guests but are limited on time.
As said, there are countless recipes of panna cotta when you hit a Search on Google. I figured that the recipe that most of the popular chefs or food-bloggers use has the ingredient ratio of 50% whipping cream, 50% milk, and 25 gram gelatin as per 1 Litre (4 cups) of liquid. The more gelatin being added, the firmer the final product becomes. I personally like a softer panna cotta so I use a little bit less gelatin than what the basic recipe calls for. From that recipe, you can get creative and try out different flavors such as matcha (green tea) powder, cocoa powder, or even flavor extracts.
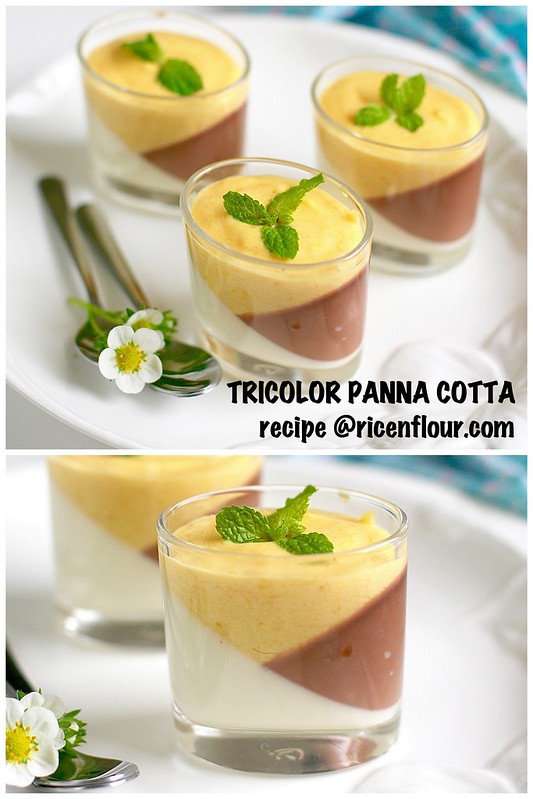
The recipe that I’m introducing in this post comprises of 2 layers of panna cotta, vanilla and chocolate flavour, and a layer of mango mousse on top. Although being made of quite similar ingredients to panna cotta, mousse is much softer and more airy. So I think it’d be nice to “bring” them together, creating a whole-hearted but soft, airy, heavenly dessert.
TOOLS: 4 glasses x 75 ml/ glass
INGREDIENTS
A. Vanilla Panna Cotta
- 60 ml (1/4 cup) milk
- 60 ml (1/4 cup) whipping cream (30 – 40% fat)
- 15 gram (1 Tbsp) caster sugar
- ¼ tsp vanilla extract
- 3 gram gelatin (sheet or powdered)
B. Chocolate Panna Cotta
- 40 ml (3 Tbsp minus 1 tsp) milk
- 40 ml (3 Tbsp minus 1 tsp) whipping cream (30 – 40% fat)
- 15 (1 Tbsp) caster sugar
- 5 gram (2 tsp) cocoa powder
- 2 gram gelatin (sheet or powdered)
C. Mango Mousse
- 70 gram (2.5 oz.) mango flesh (choose ripe ones)
- 25 ml (1 tbsp + 2 tsp) milk
- 10 – 15 gram caster sugar (about 1 tbsp, quantity varies to taste)
- 35 ml (2 tbsp + 1 tsp) whipping cream (30 – 40% fat)
INSTRUCTIONS
Here I made the layer diagonally for nicer presentation. It is incredibly easy, but if you want, you can also just make the traditional straight layering.
1. As you may be using a different glass size as mine, you will need to measure out the ingredients so that in the end, you should have 3 layers of similar proportions. Here is how you can do this:
– Place the glass on a kitchen scale diagonally as seen in picture. Pour in water until it gets to where you want the first layer to be. Then measure this amount of water.
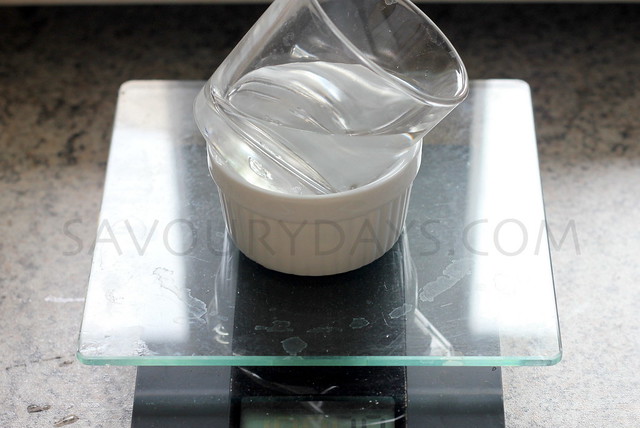
– As seen in the picture, I got 30 gram/30 ml water. That means, for every glass, I want 30 ml of vanilla panna cotta. For 4 cups, I will need 30 x 4 = 120 ml liquid. Based on the basic panna cotta recipe with 50% whipping cream, 50% milk, 25 gram gelatin per 1 L of liquid, I measured out how much I need for each ingredient.
– For the chocolate panna cotta, I use 2/3 of the amount of that of the vanilla because I don’t want the chocolate to overpower the vanilla flavour. The rest is for the mousse part
– If you are using a bigger glass size, you can adjust the amount needed accordingly followed the instructions I just mentioned.
2. Make Vanilla Panna Cotta:
- Soak gelatin in 15 ml cool water for 10 – 15 mins until it’s softened.
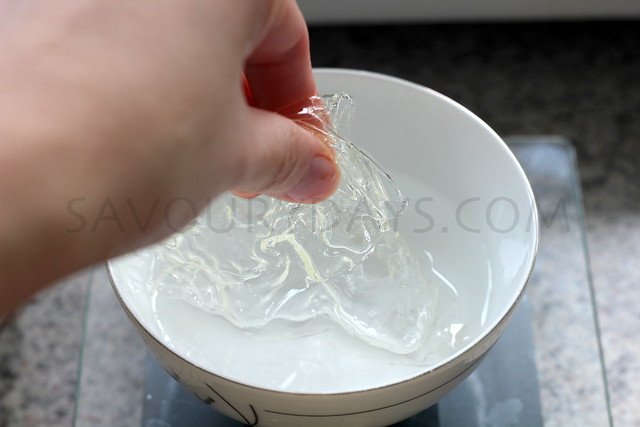
- In a small saucepan, add milk, whipping cream, and sugar. Cook at medium heat, stir continuously until you see steam coming out, then stir for another minute and remove from heat. Try to not boil as it’ll ruin the nutrition in the milk.
- Squeeze the gelatin sheets to get rid of excess water, add into the hot saucepan, stir quickly until gelatin is completely dissolved. If using powdered gelatin, add the whole mixture into the saucepan.
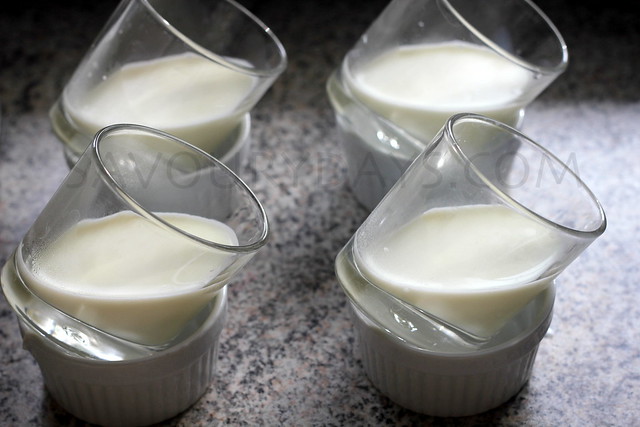
- Divide the mixture into the glasses as seen in picture. Let cool to room temperature then put them into the fridge for at least 30 minutes or until the panna cotta is set.
3. Chocolate Panna Cotta (proceed to this step only after the first layer has completely set)
- Soak gelatin in water as in step (2)
- In a saucepan, add in milk, whipping cream, and sugar. Cook at medium heat, stir continuously until you see steam coming out, and then remove pan from heat. Add in cocoa powder, stir till it has completely dissolved, then put it back on stove and cook for another minute.
*The amount of sugar and cocoa powder can be adjusted to personal preference. You can also substitute cocoa powder with chocolate. If using chocolate of cocoa content of 60% and up, you should use less whipping cream and more milk (for example, 35% whipping cream, 65% milk so that the chocolate won’t turn hard)
- Drain excess water from the gelatin, quickly add it into the hot saucepan, and stir quickly until gelatin is completely dissolved. If using powdered gelatin, add the whole mixture into the saucepan. Let the mixture cool down, stir occasionally to prevent the hardening of the surface. Make sure that it has cooled down completely before pouring it on top of the vanilla layer as the hot mixture will melt the other layer.
- Divide the mixture into the glasses as seen in picture. Let cool to room temperature then put them into the fridge for at least 30 minutes or until the panna cotta is set.
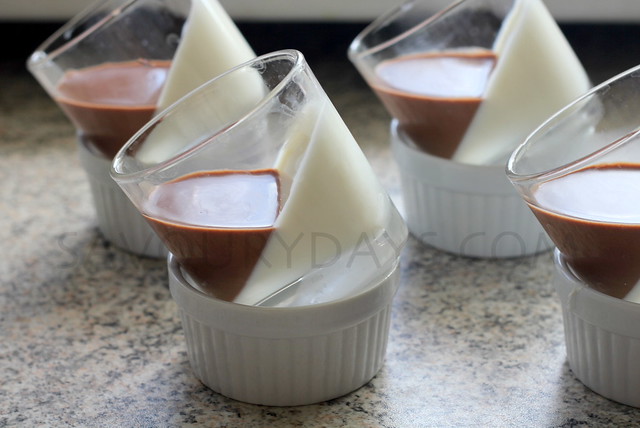
4. Mango Mousse (proceed to this step only after the second layer has completely set)
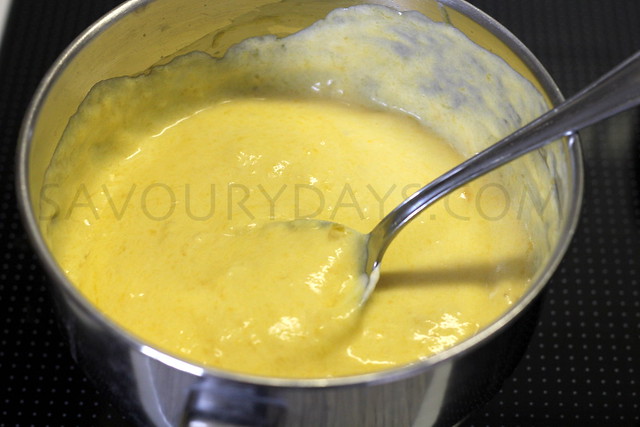
- Blend mango with milk, add sugar to taste. Then, add the mixture into a saucepan, cook at medium heat and stir continuously until the mixture starts boiling up. Remove from heat and let cool.
- In another bowl, beat whipping cream until soft peaks form (be careful not to over-mix as it will become grainy)
- Gently fold the whipped cream into the cooled mango mixture.
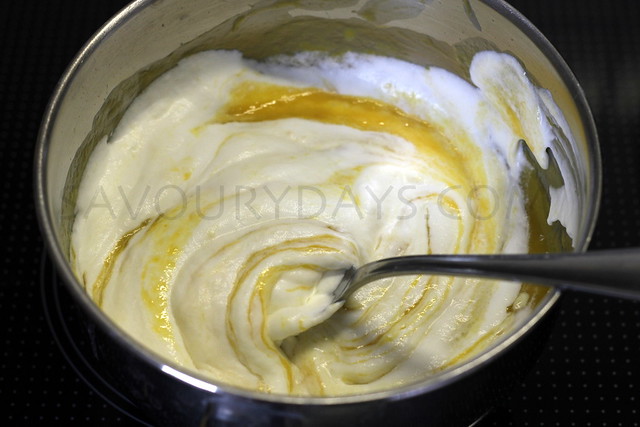
- Divide the mixture into the glasses and place them into the fridge for the mousse to set. Keep these glasses cold and serve within 2 days.

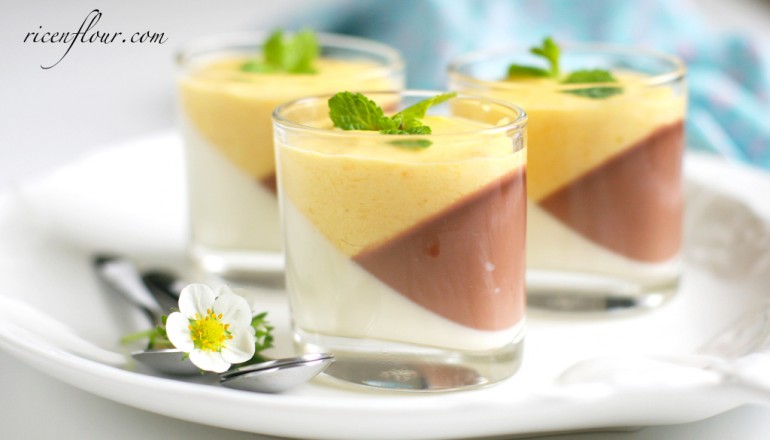


I love the way you present the instructions for making your recipes.
You do not use to many words and you don’t waste time in your video presentations. Thank you for being mindful of the time of other people!!
Thank you for passing by and we hope to see you again here, Marcia!
I would definitely try this…..love your blog ❤
Thank you, I hope you’ll like it ^.^